building the caterpillar tunnels
a big part of springtime on any farm is setting up infrastructure. at tournesol this includes setting up the “caterpillar tunnels” or unheated greenhouses that will be the homes for our tomatoes, sweet and hot peppers and basil and some of the celery, fennel and cut flowers as well.
setting up a caterpillar tunnel is no easy feat, although it is not too technically complicated. it took our team of 10 people 3 separate days of labour to build the 3 tunnels (part of that time was relocating the tunnels from a nearby location, so there was some take-down time as well).
steps 1 & 2:
the first part of the process is hammering rebar stakes into the ground, in two rows fourteen feet apart from each other, with stakes eight feet apart. this part was pretty labour intensive, even with a good post-pounder and some mallets. i was a bit too distracted by clanging metal to take pictures of that part, but i think you can imagine it. the second step was to twist in ground anchors, which are basically like giant screws with a looped metal end. these go in between the posts and are used to hold down the ropes that hold down the plastic. (more on that later)
step 3: attach arches
these giant metal arches (or some folks use PVC pipes, although that is less durable), having been transported by the lifter on the tractor, are being removed by aurélien and emily. they are coordinating their efforts to remove the same arch from the pile and then place it on the metal stakes that are already in the ground. there are about 36 of these arches per tunnel.
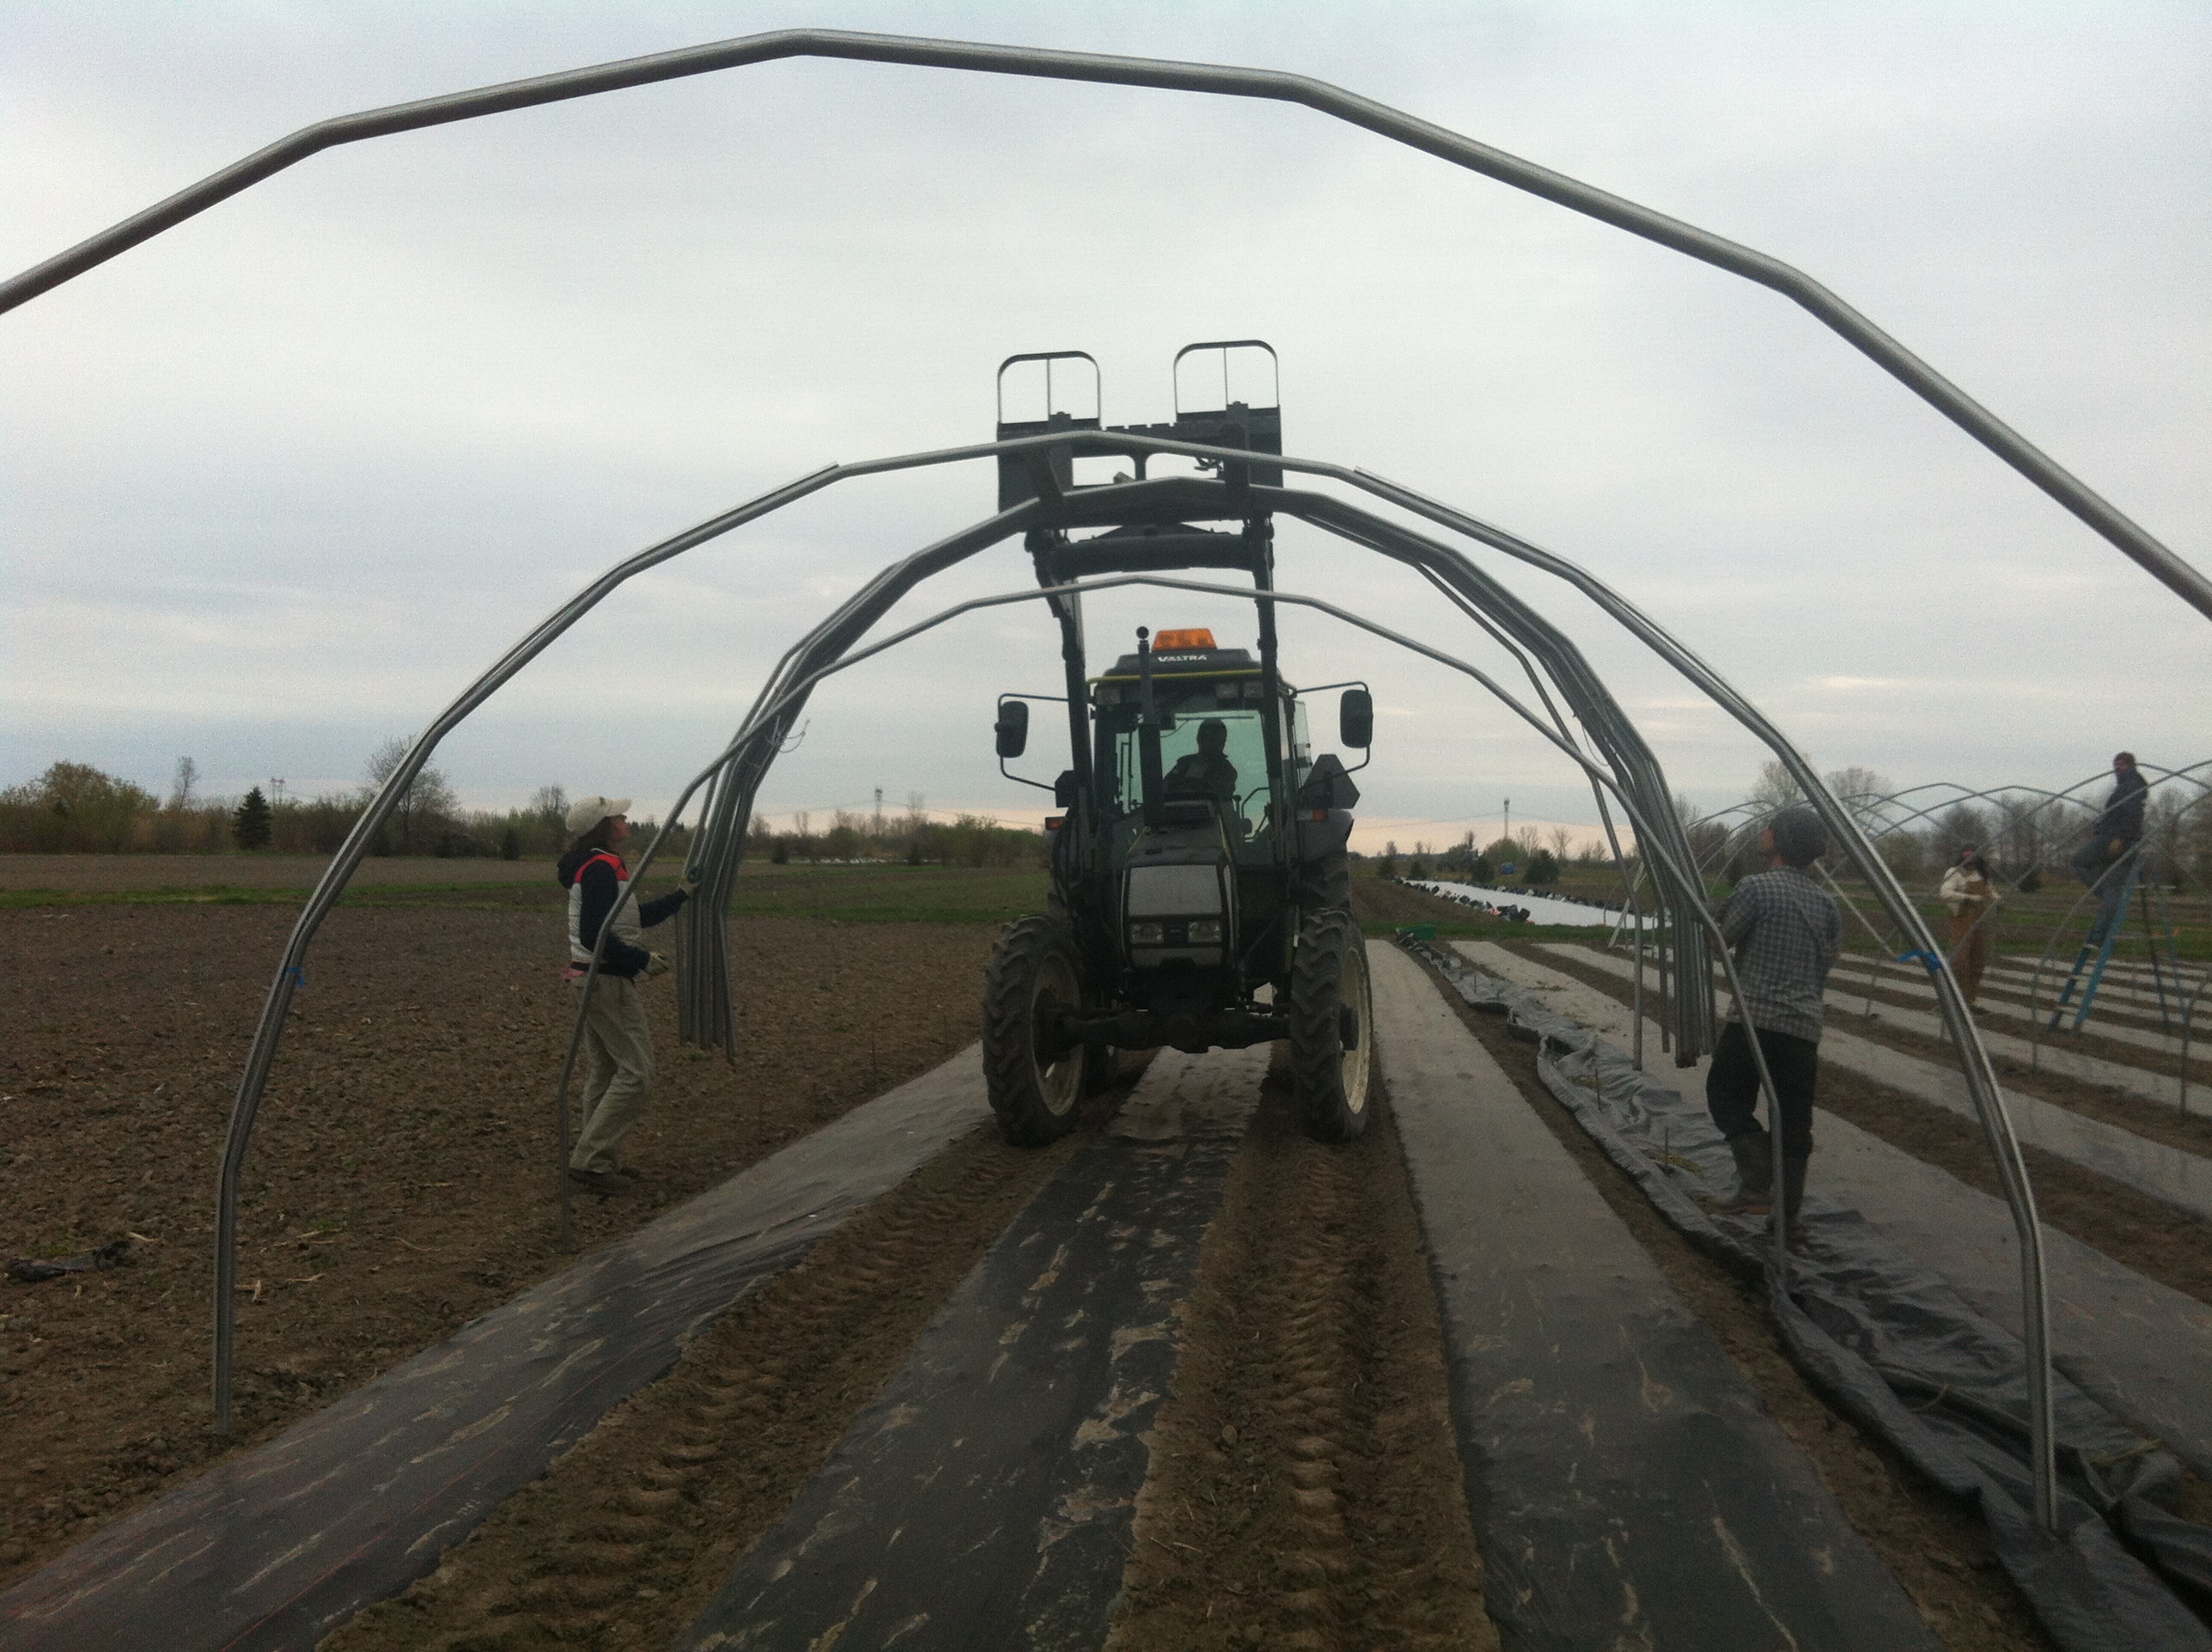
driving backwards like this is not easy.
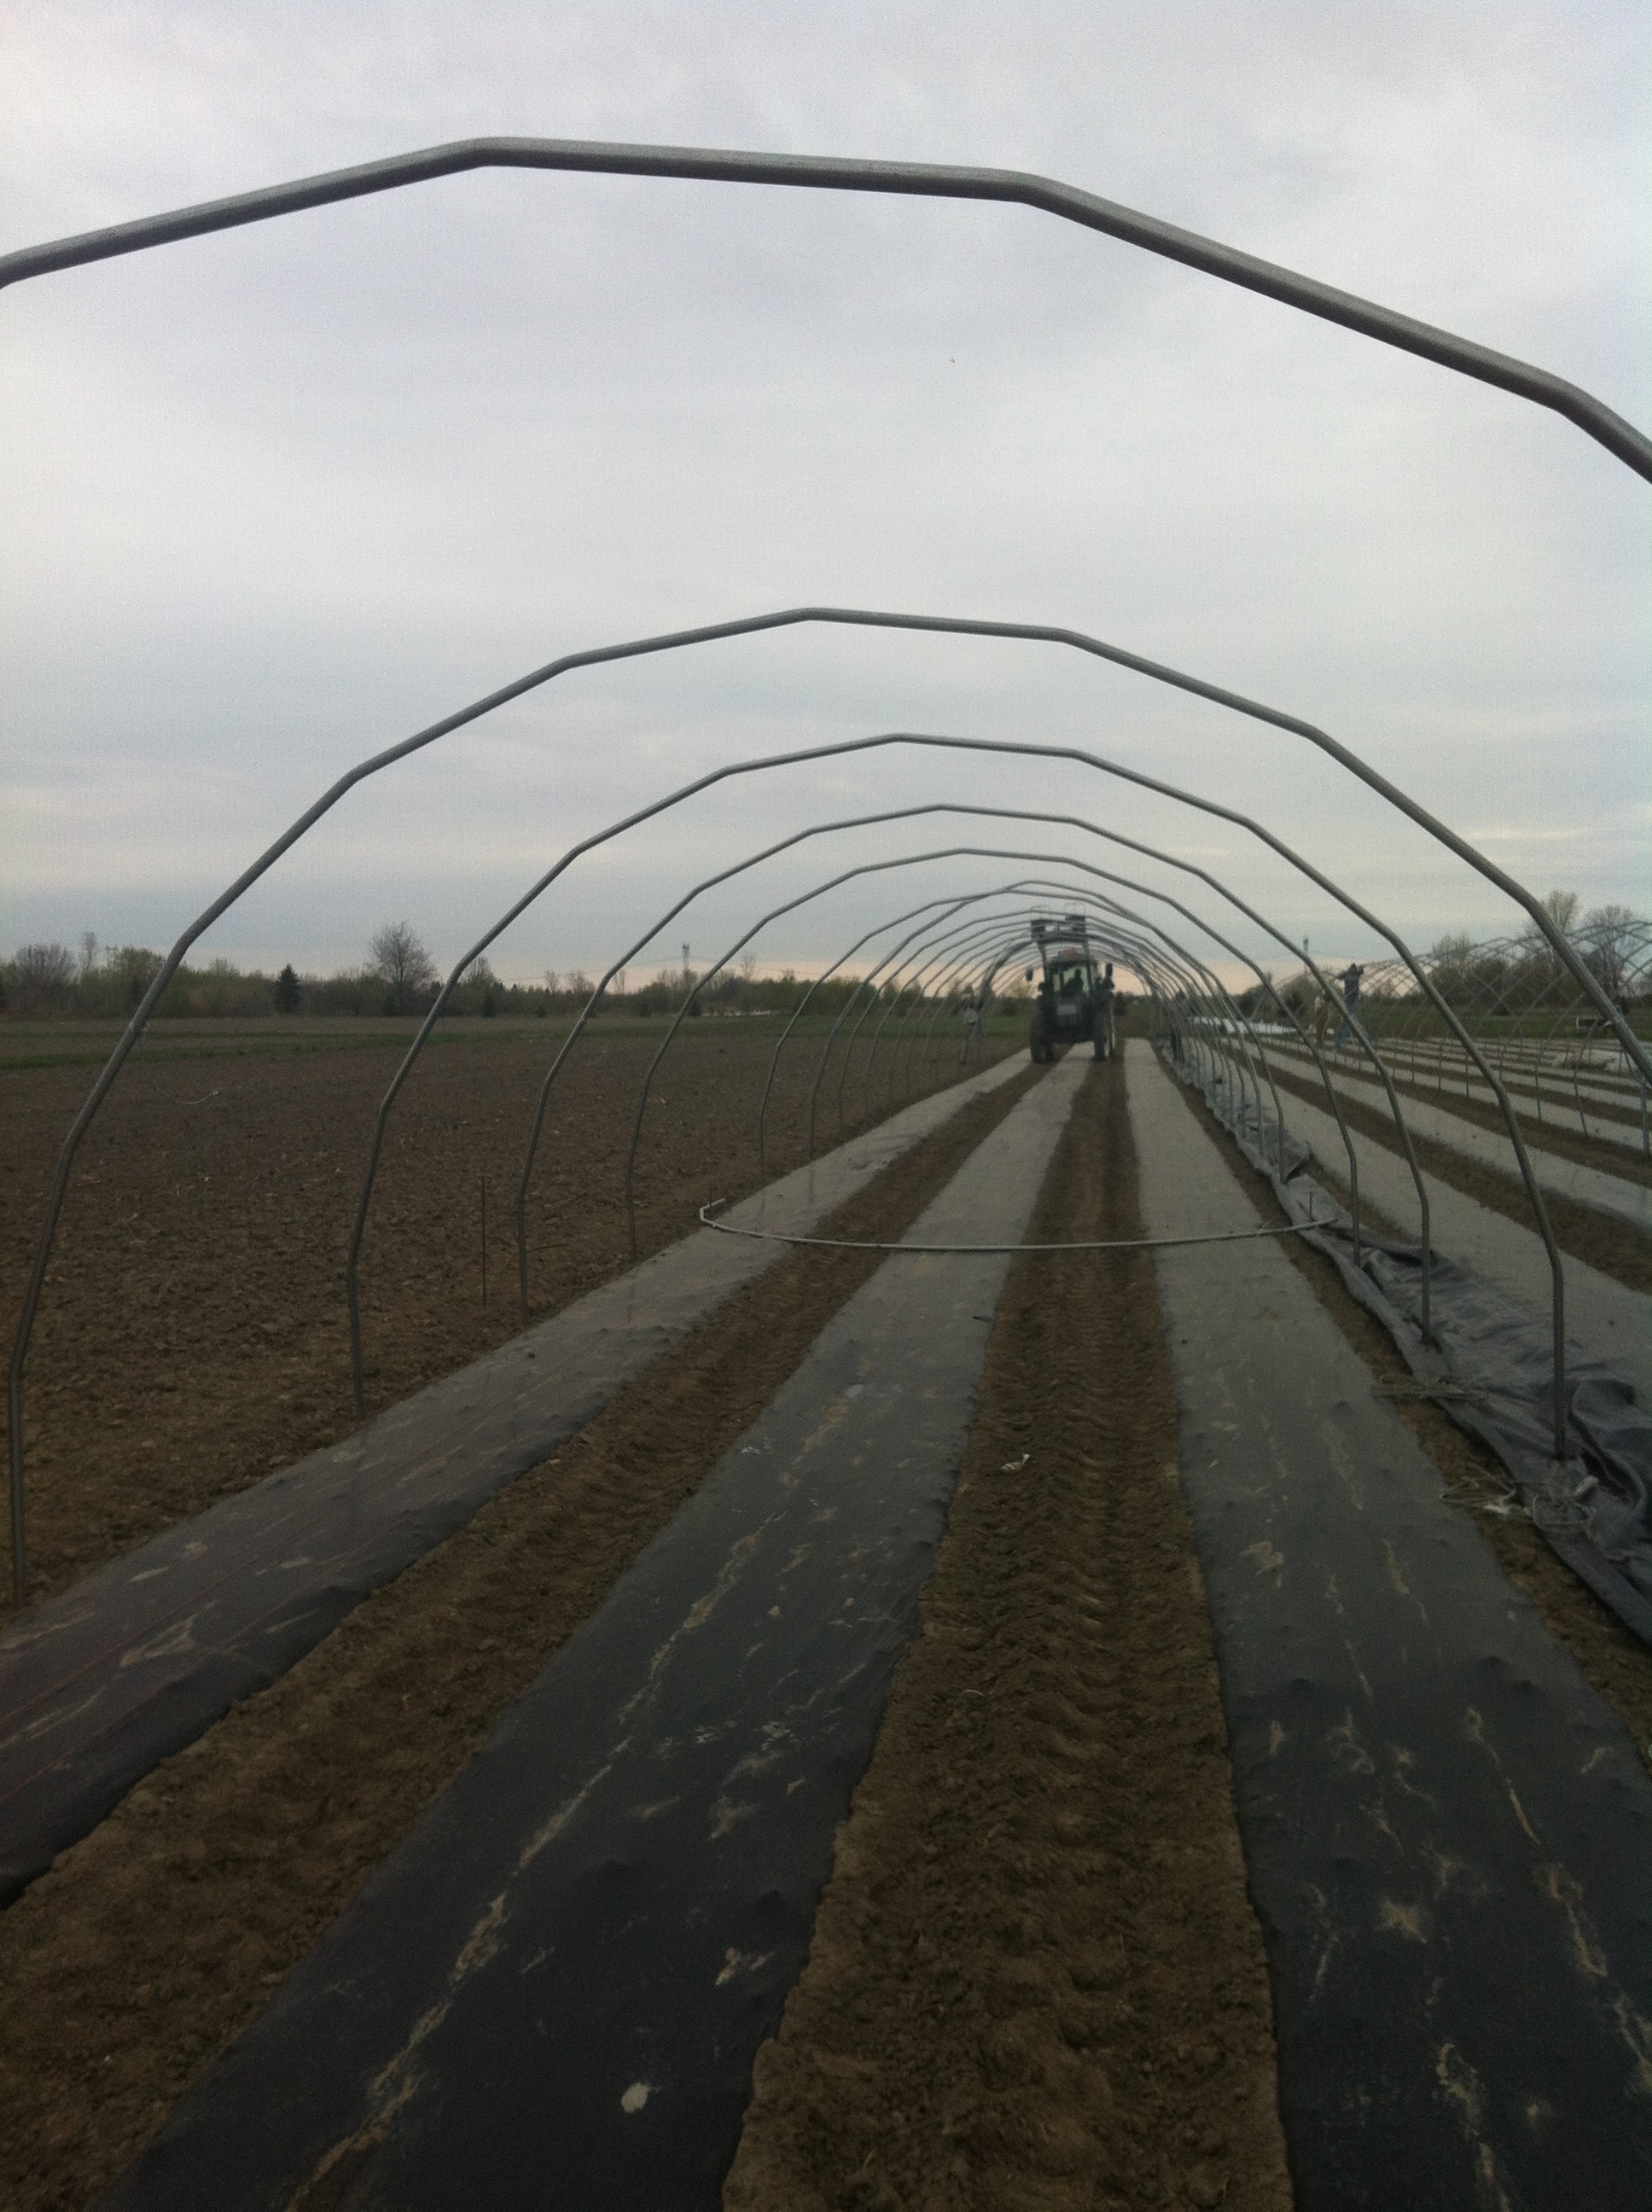
TA-DA!
step 4: attach the top rope
there is a rope that ties all the arches together for support for the tunnel. it’s gotta be tied pretty tight. it’s also pretty high up so a ladder is key.

one of these people is taller than the other.
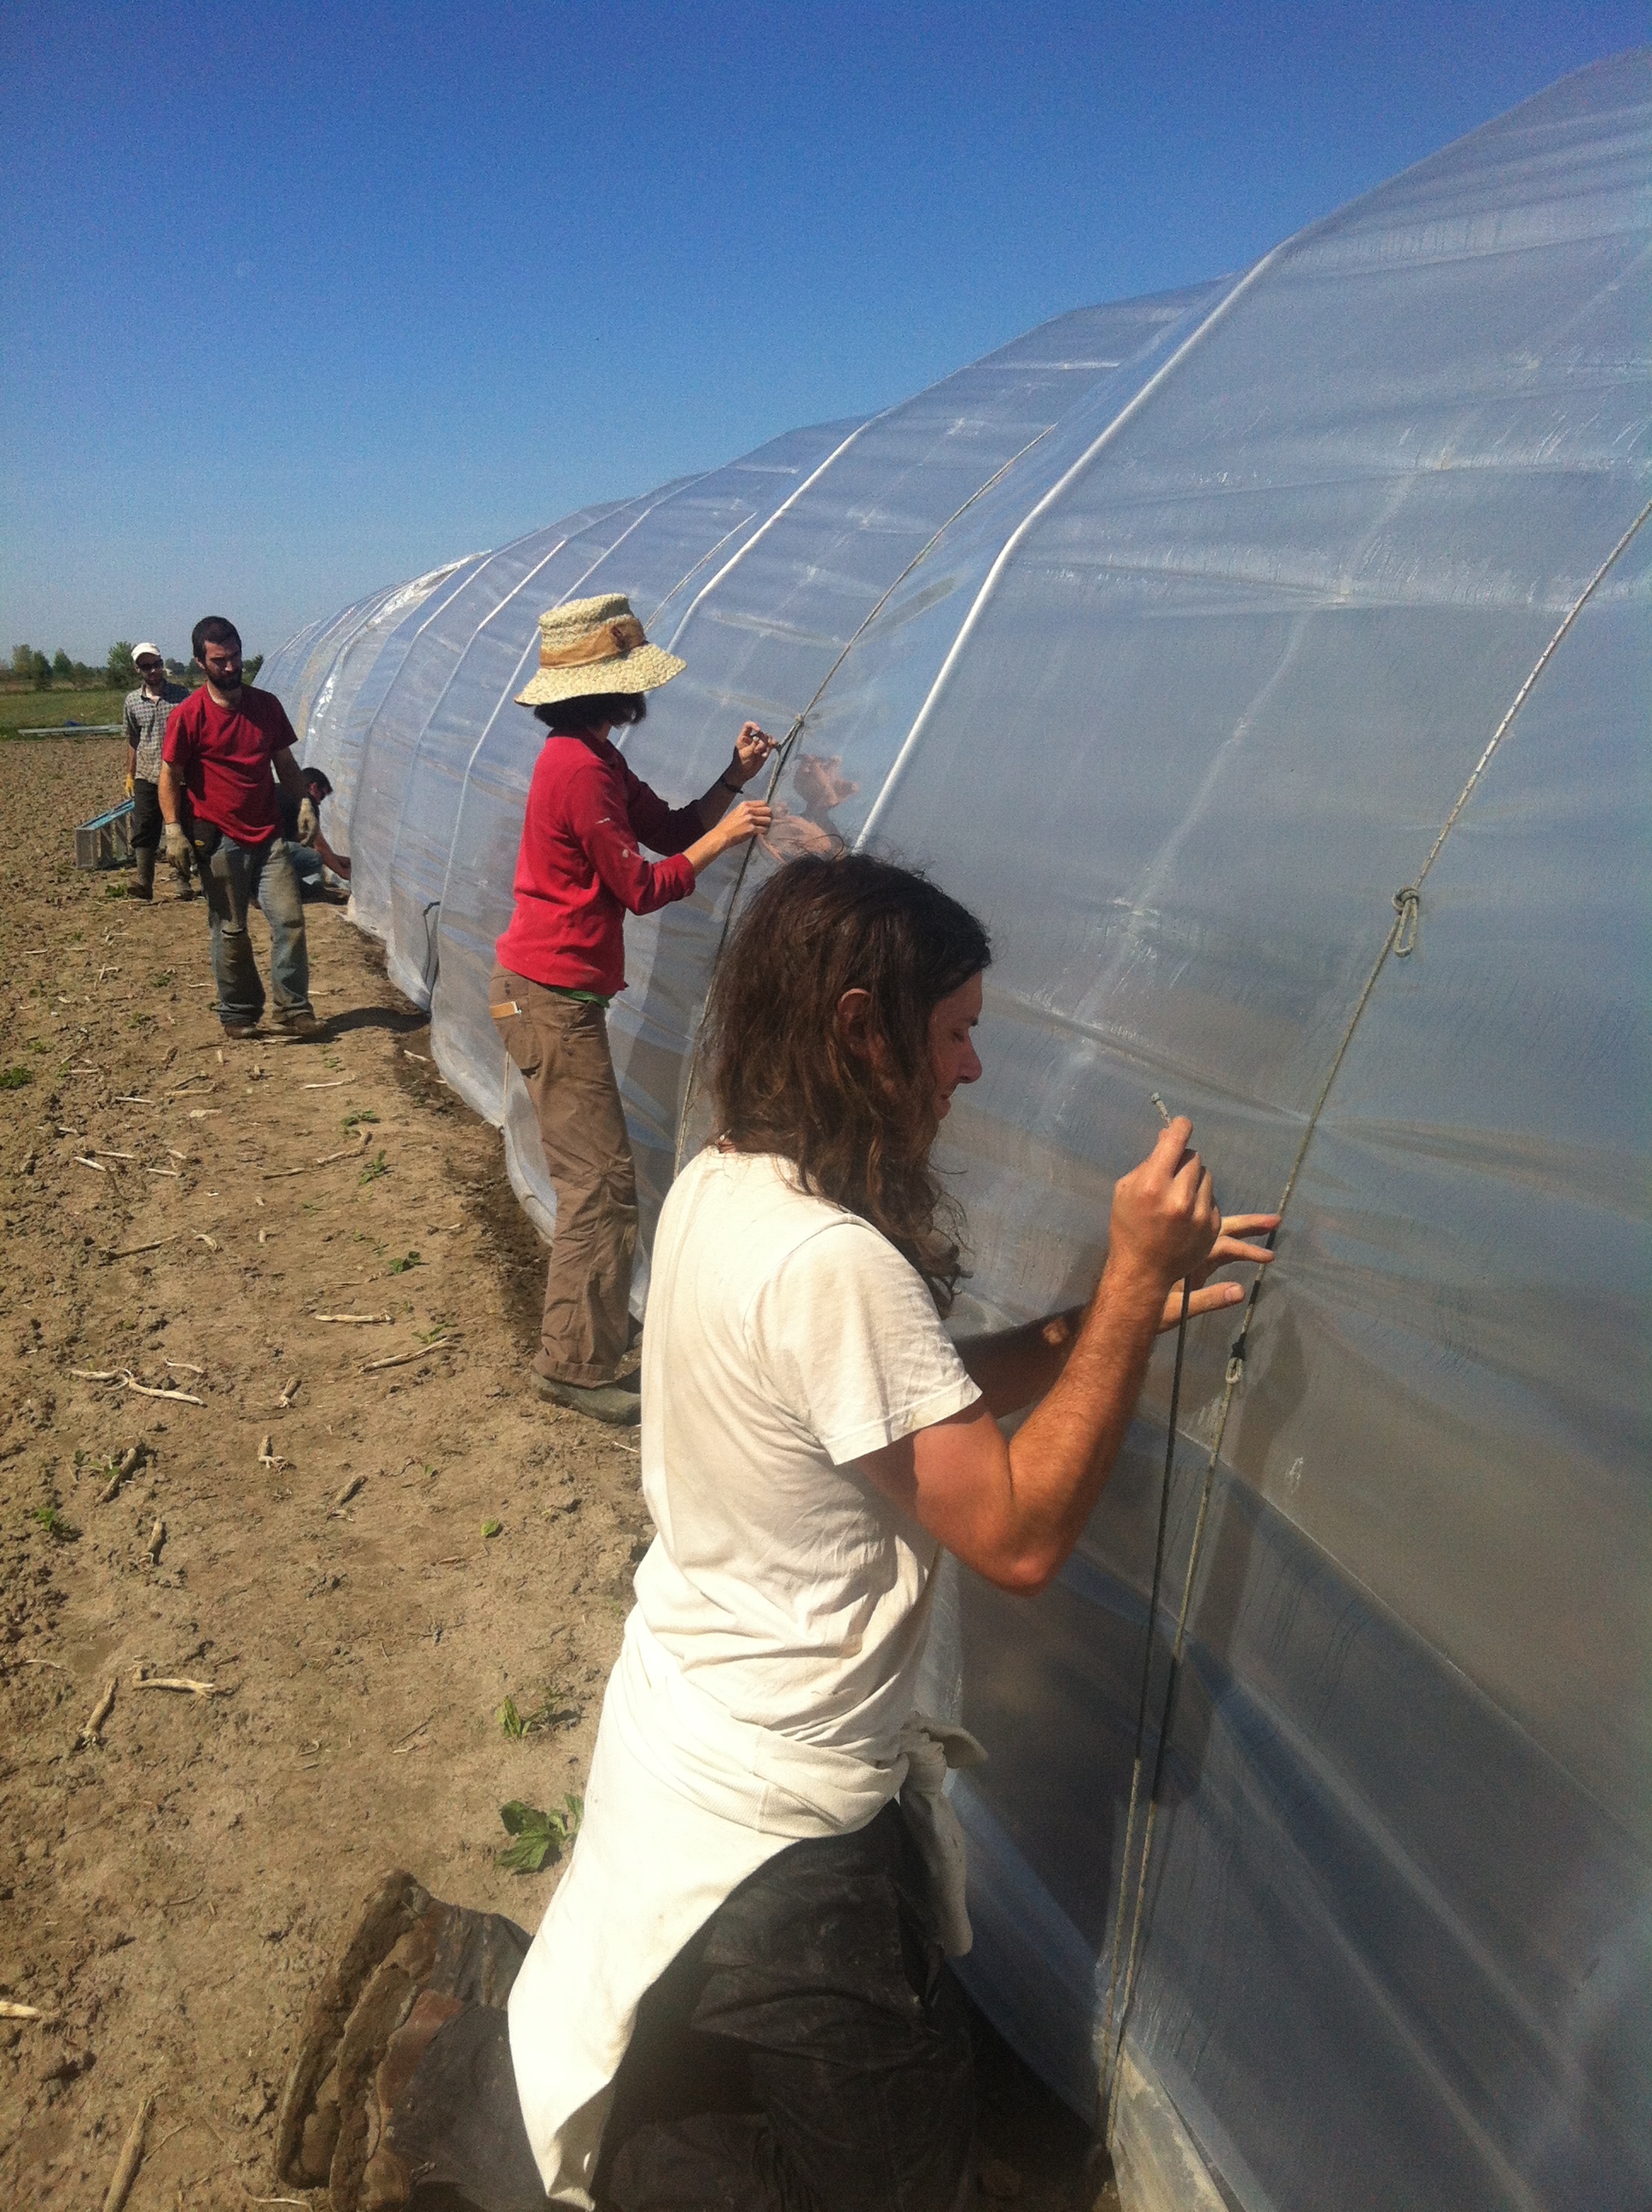
steps 5 & 6: Putting on the plastic!
the next two steps are the most exciting, and most satisfying of caterpillar tunnel setup. step 5 is to put the giant sheets of plastic on the tunnel. for the tunnels at tournesol we used 3 separate pieces of 100-foot long plastic, pulled over one side of the tunnel to the other, and attached to itself with wiggle wire, then tied in a bun at both ends of the tunnel. the result is an unheated greenhouse structure that is accessible to people and air on the sides, but not its ends.
we were mostly successful at putting on the plastic in one shot this year. unfortunately, right as we were finishing putting up the plastic on the second tunnel the wind picked up faster than we expected, and the plastic blew off dramatically! some arches and metal rebar did go flying, but luckily no one was hurt. we decided not to take our chances with the weather for that task and left it for the next day. lesson learned: if it seems too windy to try to attach a giant piece of 6 mm plastic to slippery metal arches in the middle of a field, it probably is.
step 6 is anchoring the plastic sheets to the tunnel structure with ropes. the ropes are very important, especially for the aforementioned reason of wind possibly carrying the plastic away. the ropes are tied on one side, then thrown over the plastic to reach the other side, then tied down to the corresponding ground anchor (other kinds of caterpillar tunnels sometimes use a more zig-zag pattern for the rope-tying).
the team pulling those ropes tight

renée pulls the rope through the loop
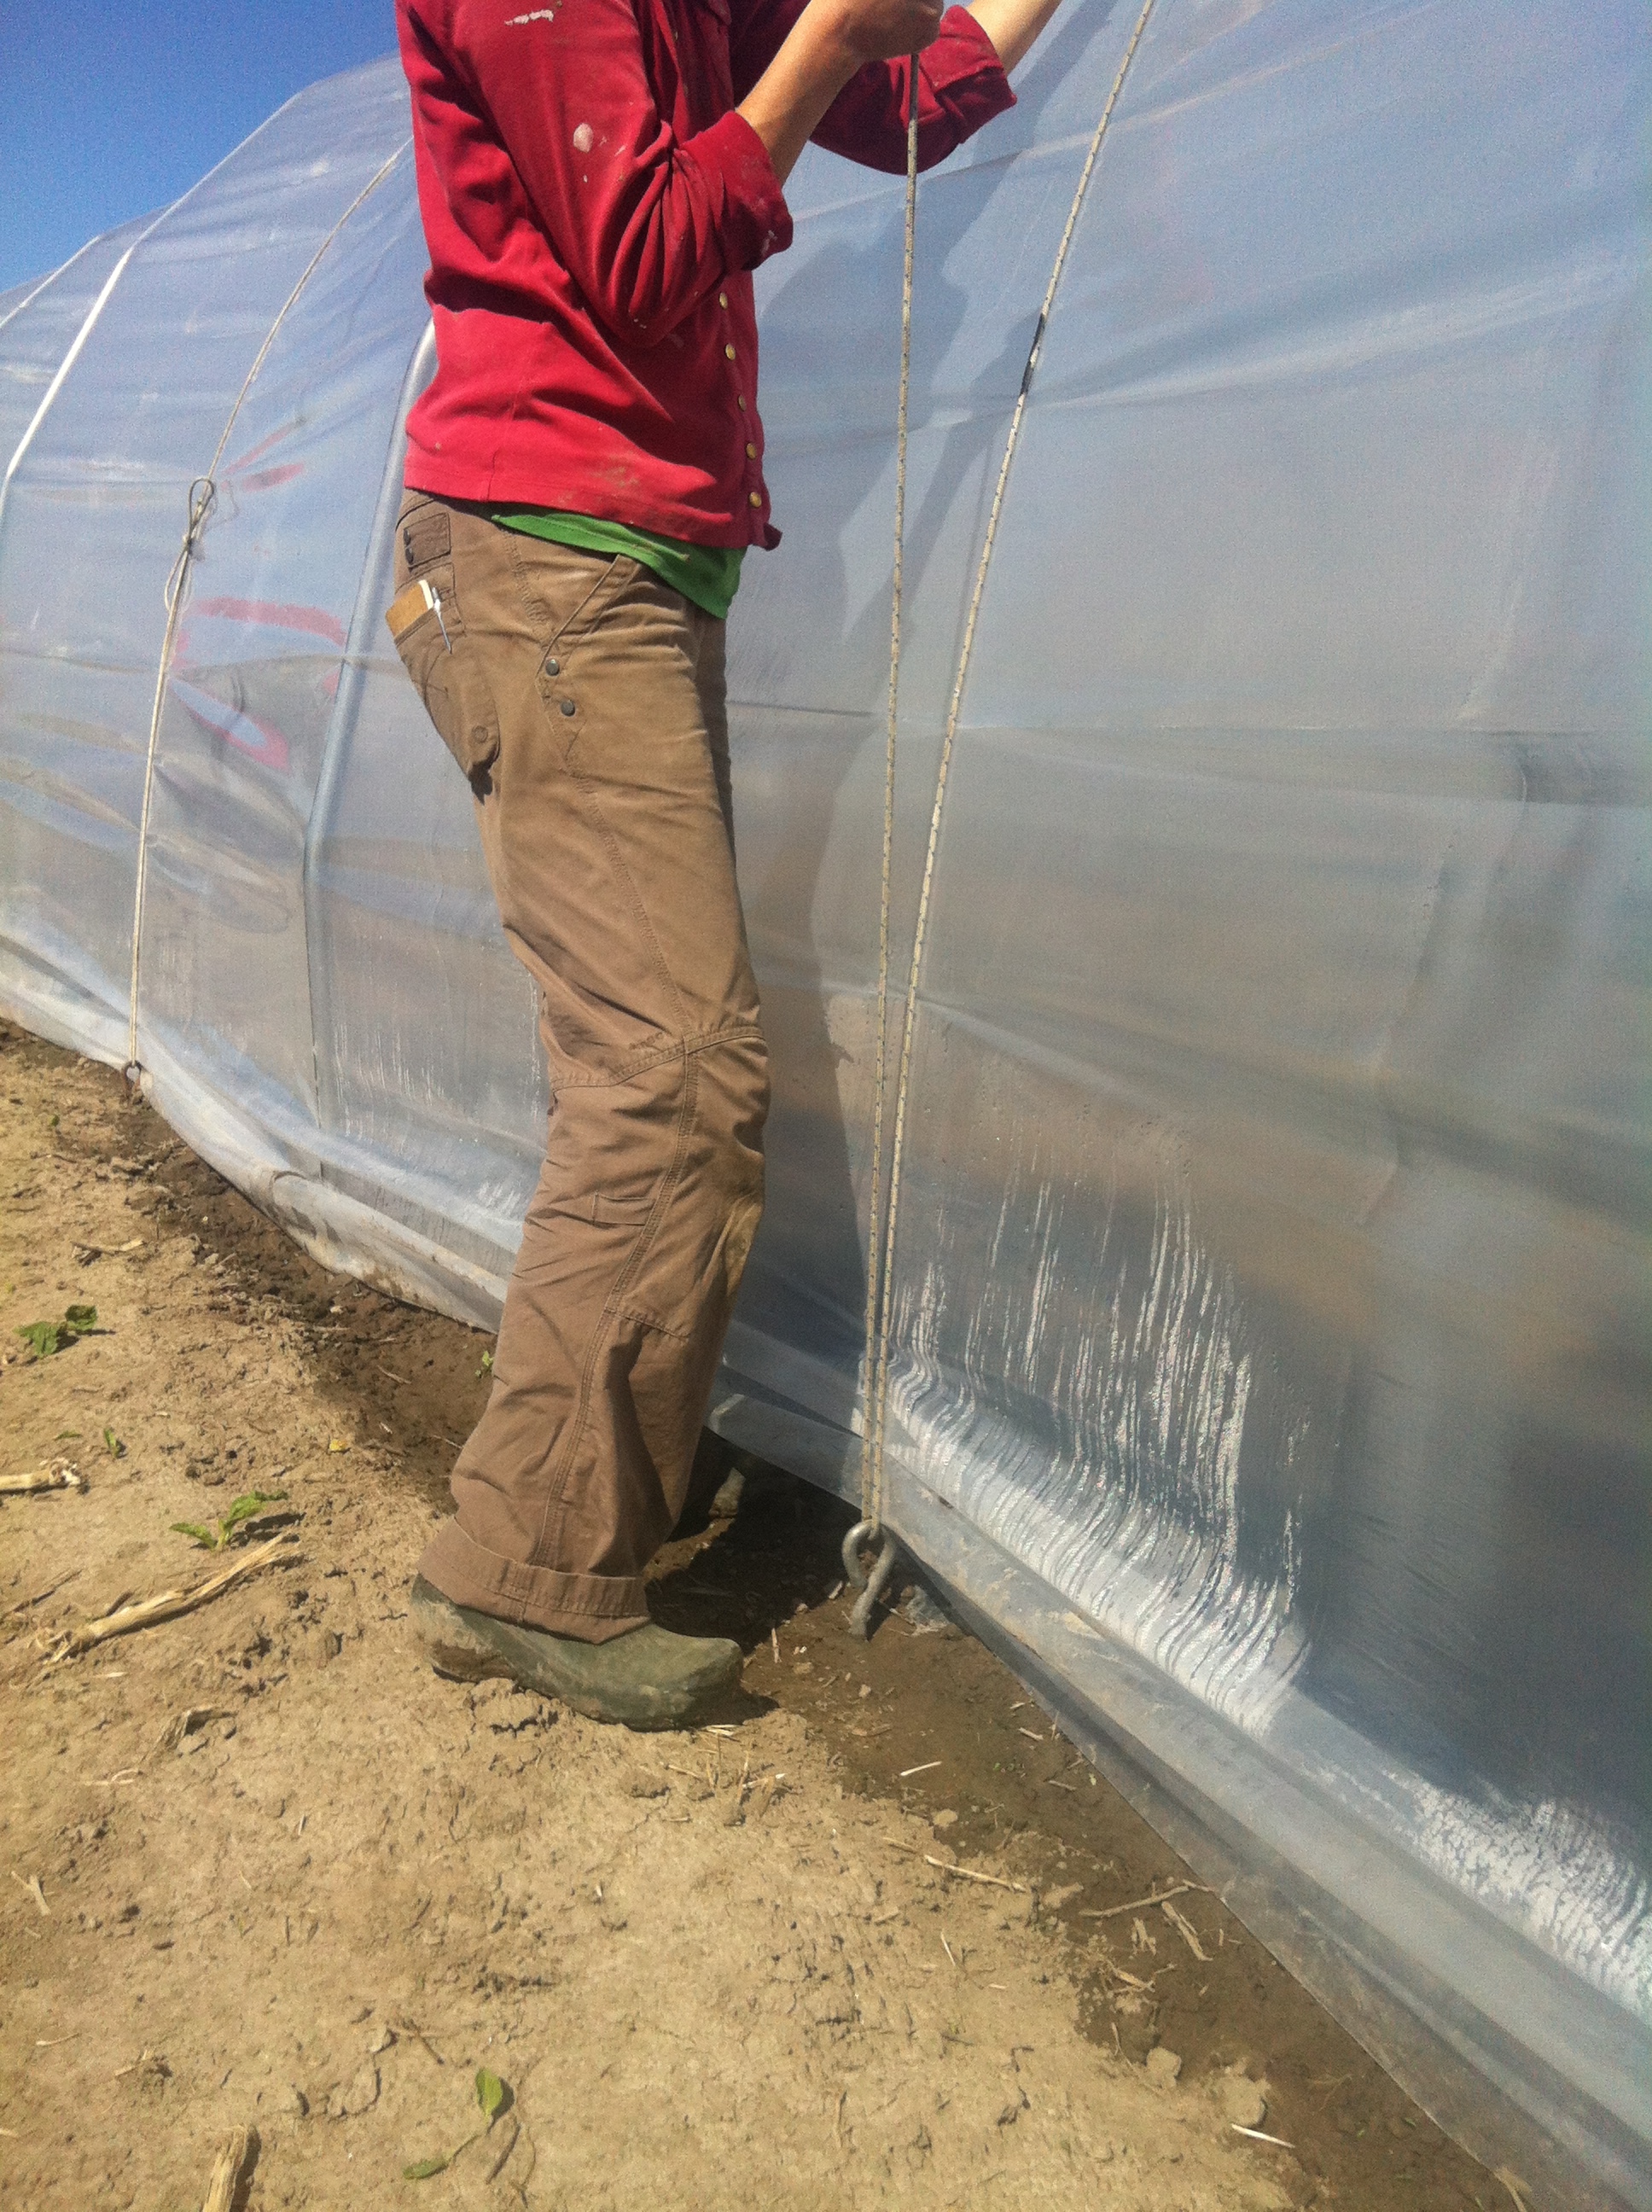
pulling the rope tight to begin to make the knot
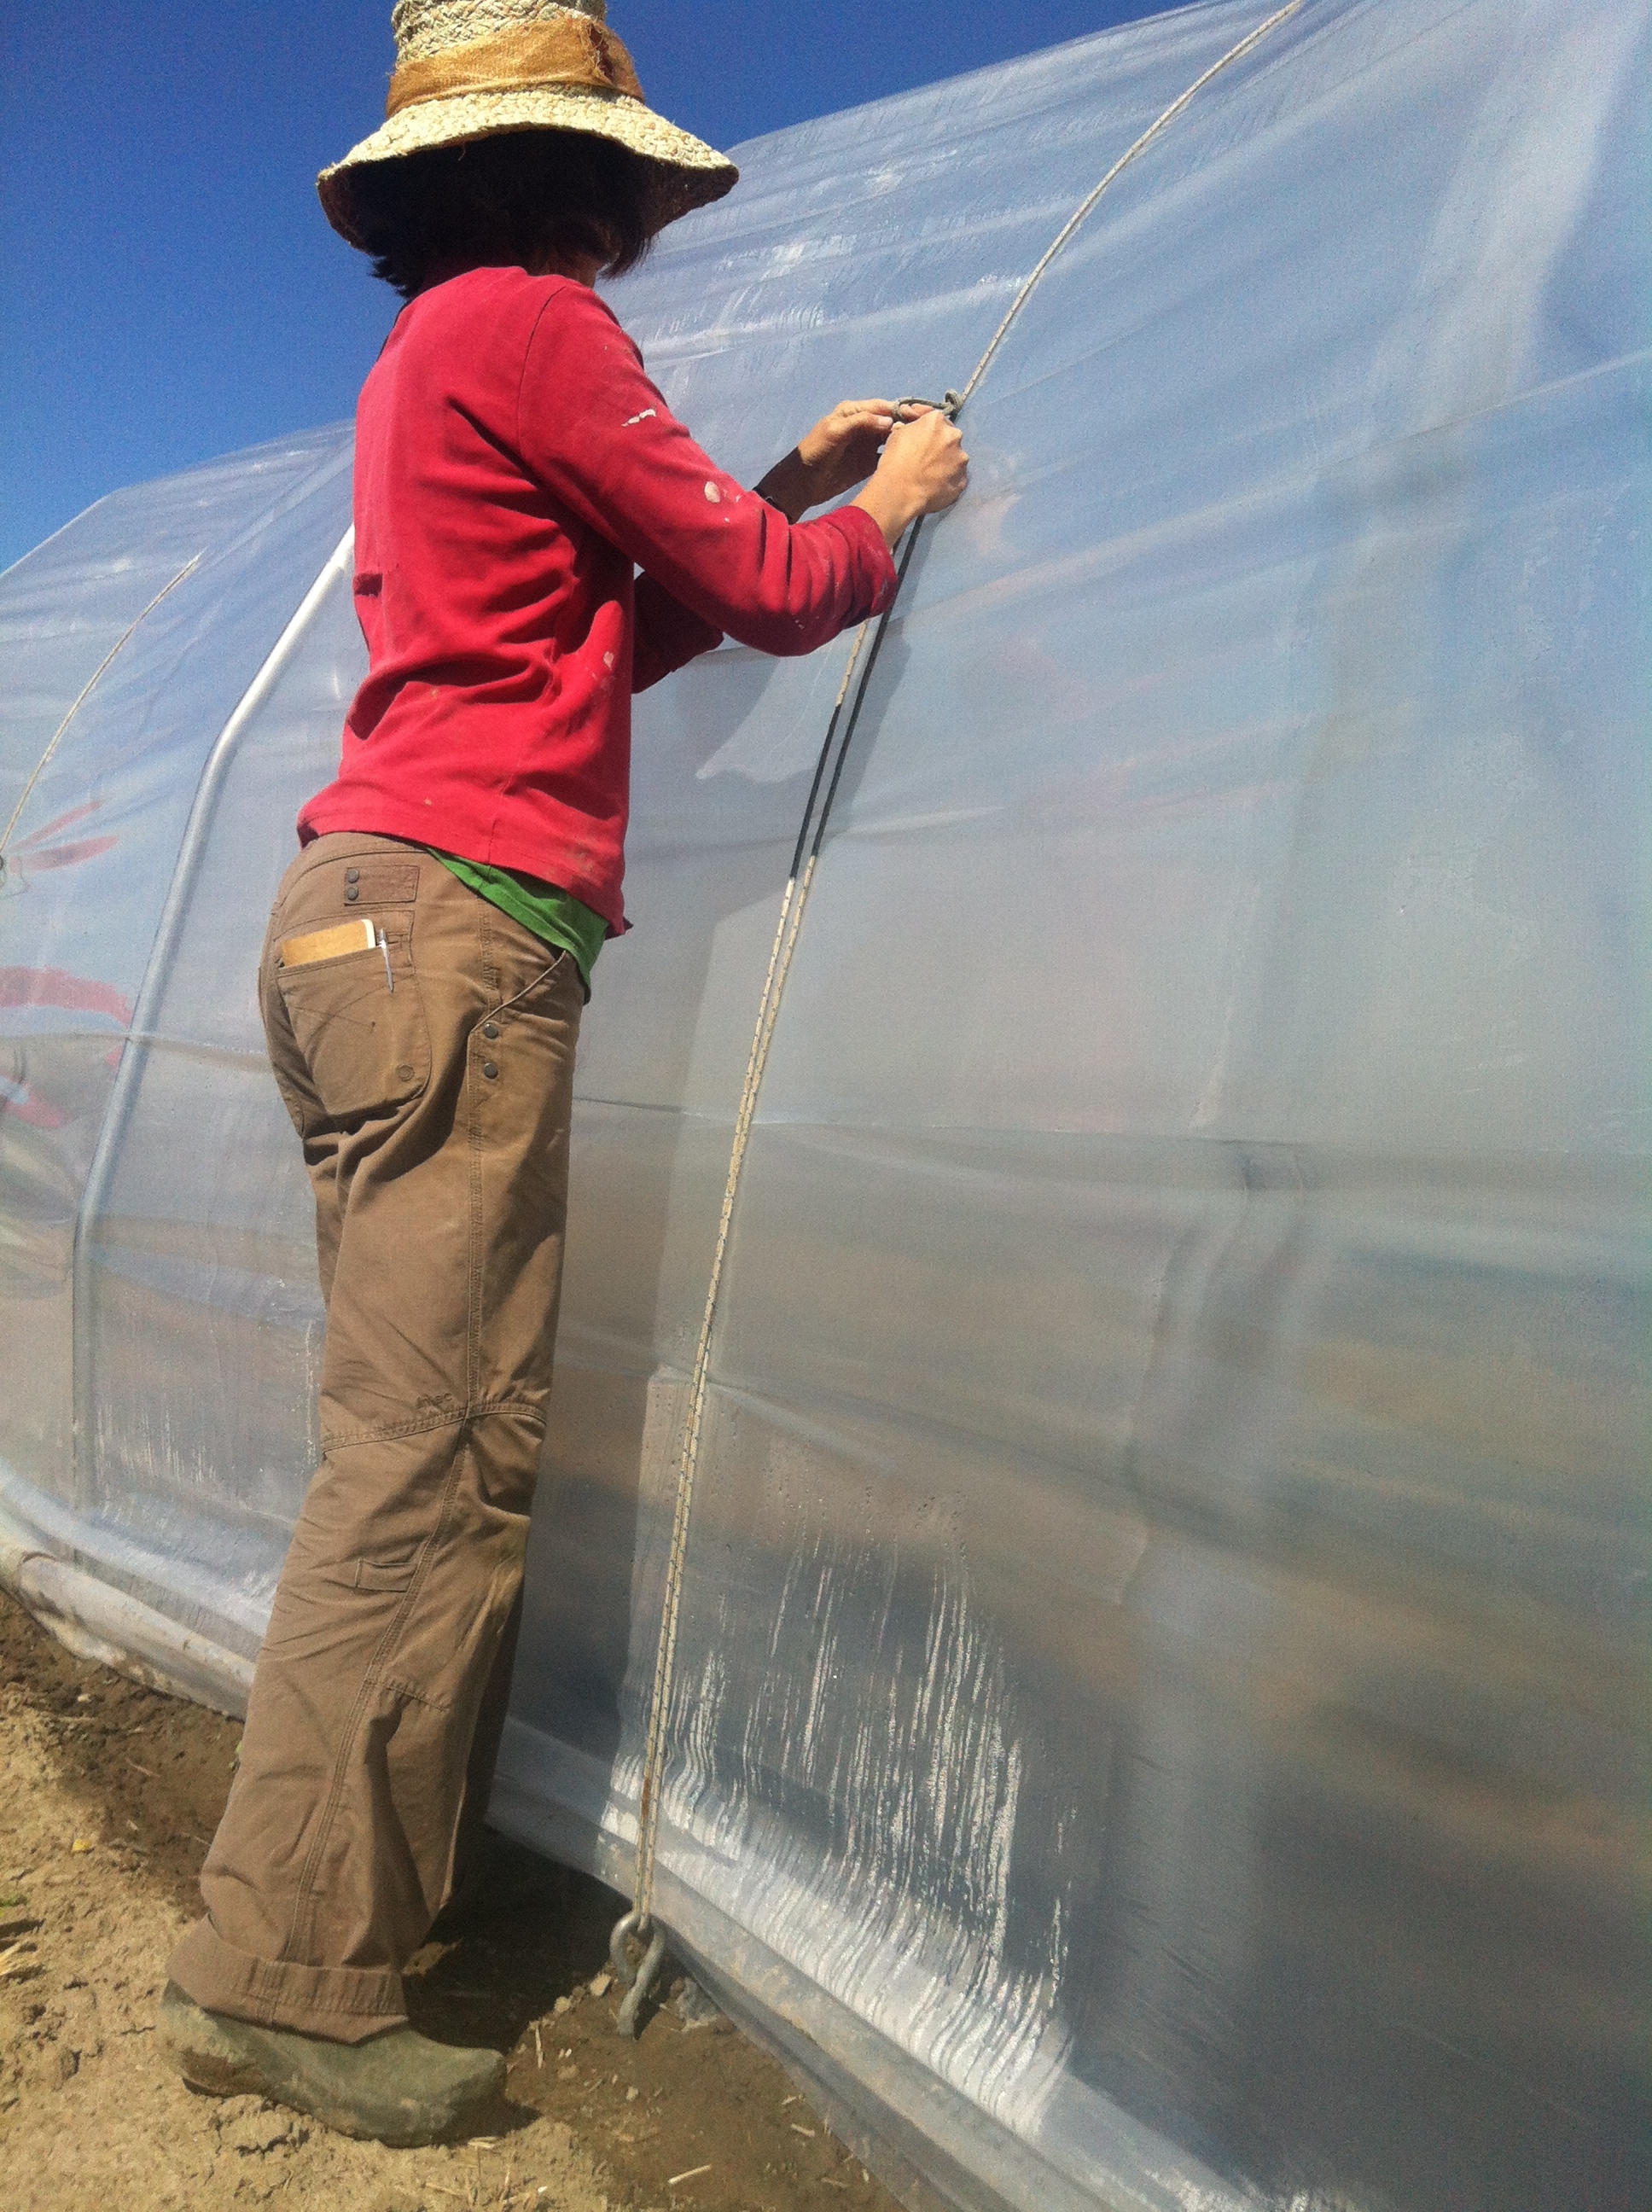
making the knot, whose name i don’t know but whose shape i could make in my sleep
step 7: enjoying the tunnel
after many days of work, the tunnel is finally ready for planting. the soil was worked, the biodegradable plastic layer laid down, the tunnel built and the plastic attached! let’s get planting!
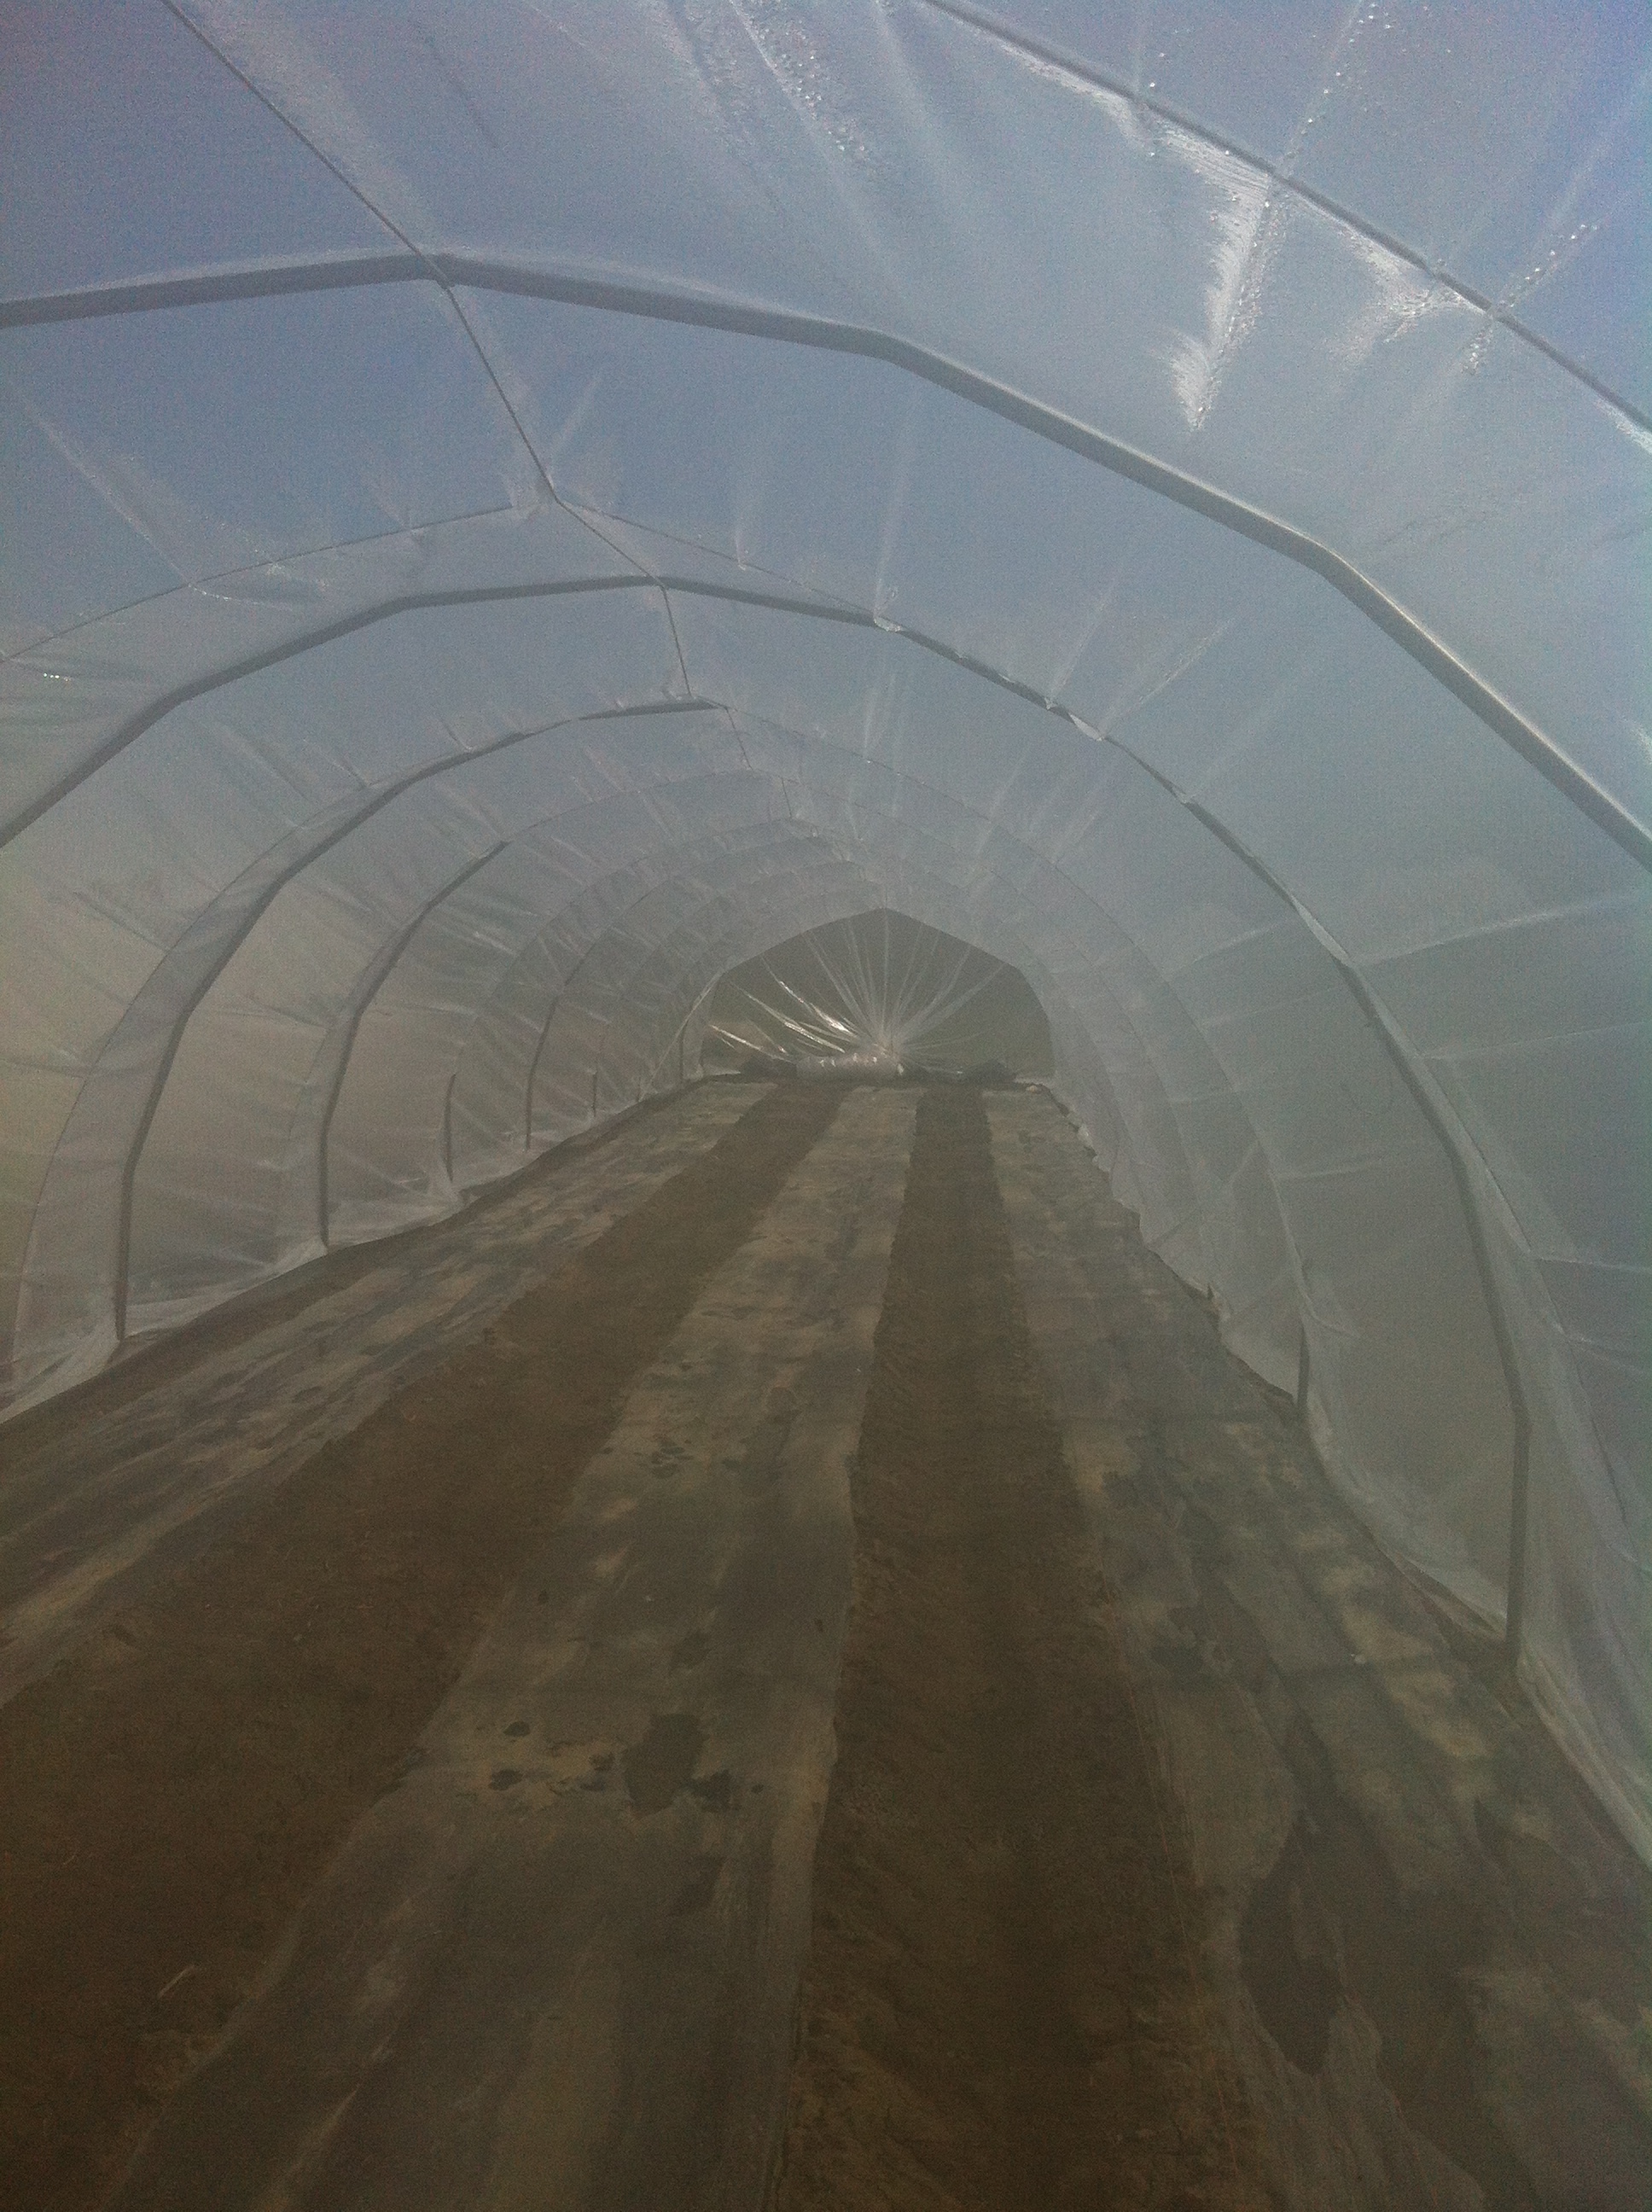
“phew, it’s hot in here” – me after taking this picture
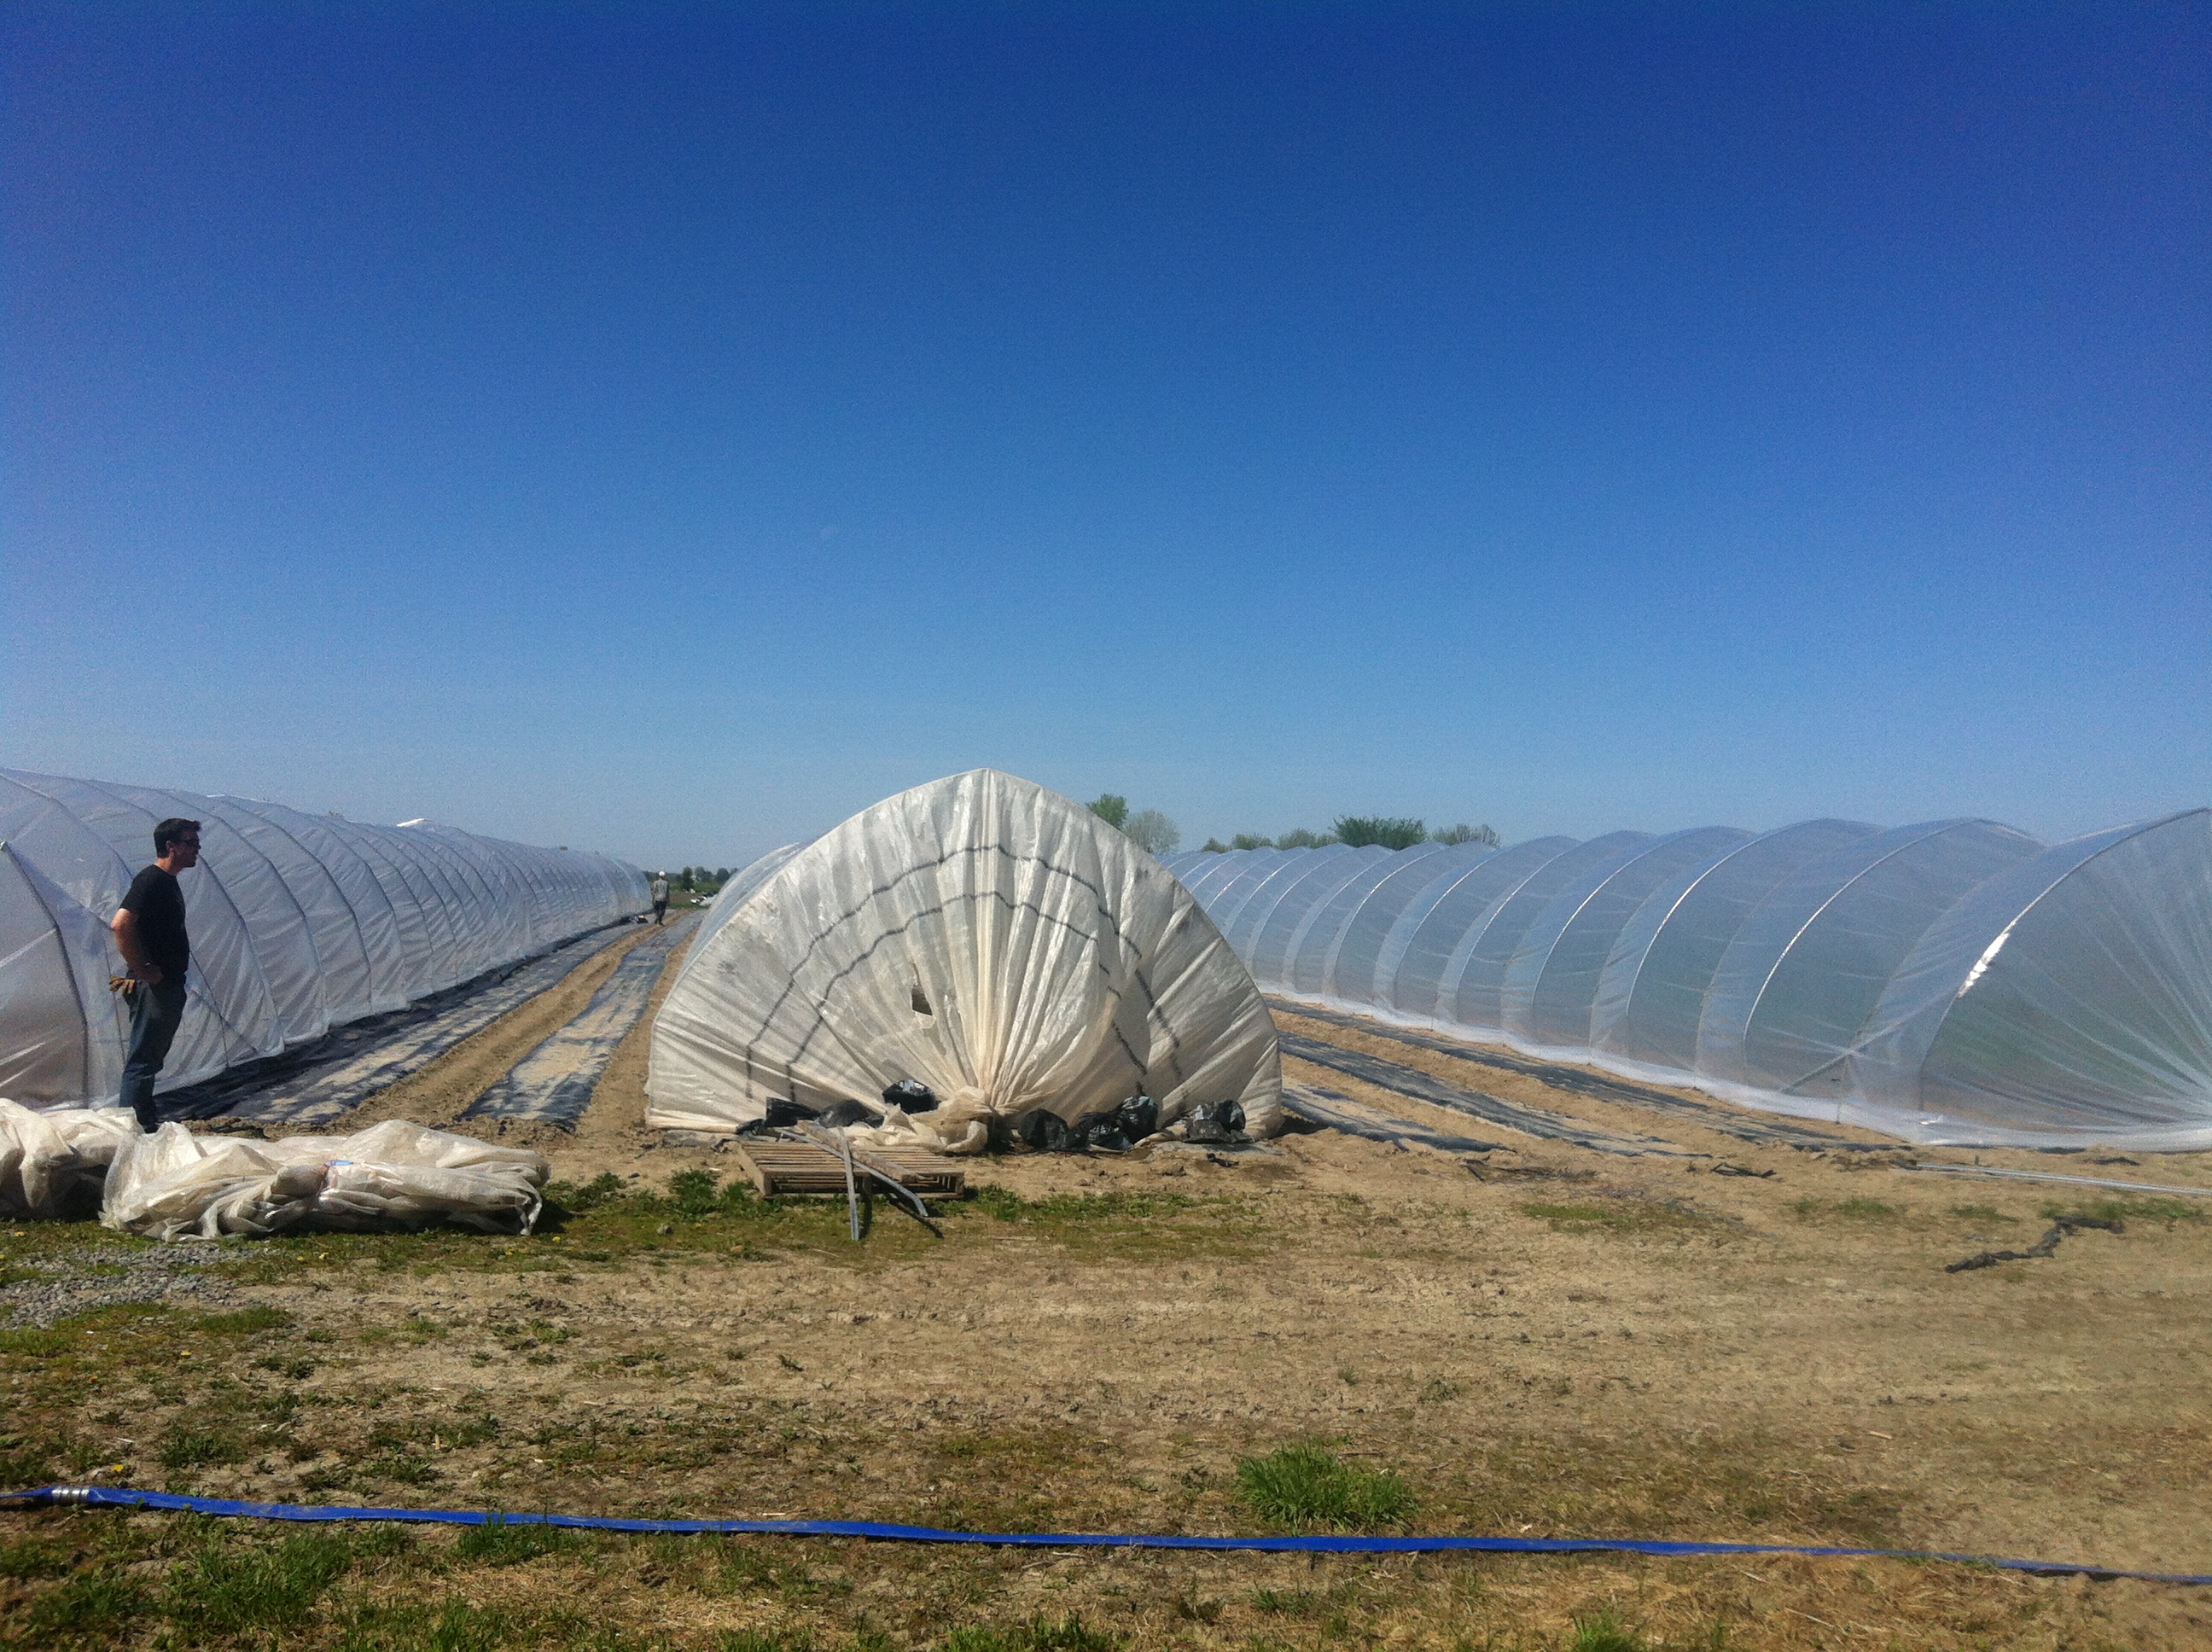
three beautiful tunnels
Pingback: field trip! part one | carol cultivates